Natural Nail Recovery: Guide to Strong, Healthy Nails
“`html
Key Features
- Identify common nail damage from gels, acrylics, and press-ons
- A comprehensive, step-by-step natural nail recovery plan
- Essential products and tools for optimal nail health
- Crucial mistakes to avoid during your healing journey
- Realistic timeline expectations for noticeable results
For years, many of us have relied on the instant gratification of gel manicures, acrylic extensions, or convenient press-ons to achieve salon-perfect nails. While these options offer temporary beauty, the aftermath can often leave our natural nails weakened, brittle, and in desperate need of a helping hand. If you’re looking at your damaged, peeling, or thin nails and wondering where to begin your journey back to health, you’re not alone. At Unnail, we understand the frustration and are dedicated to guiding you through a proven path to restore your natural nails to their strongest, most beautiful state.
This comprehensive guide will walk you through understanding the damage, implementing an effective recovery plan, identifying key products, and setting realistic expectations for your healing journey. Say goodbye to hiding your nails and hello to newfound confidence in their natural strength and shine. Let’s embark on this transformative journey together and uncover the resilient beauty of your natural nails.
Understanding the Damage: What’s Really Going On?
Before we can heal, we must first understand the root cause of the problem. Gels, acrylics, and even some press-ons, while offering stunning aesthetics, often come at a cost to your natural nail health. The methods of application and removal can be particularly harsh, leading to various forms of damage.
The Toll of Artificial Enhancements
- Dehydration: Repeated exposure to harsh chemicals, especially during removal (like prolonged acetone soaks), strips your nails of their natural moisture, leading to dryness and brittleness.
- Thinning and Weakening: Aggressive filing or buffing, often done to prepare the nail surface or remove product, can thin the natural nail plate. This makes your nails more susceptible to breakage and peeling.
- Trauma to the Nail Bed: Picking or forcefully peeling off gels/acrylics/press-ons is one of the most damaging actions. This often removes layers of your natural nail along with the product, causing severe thinning, splitting, and even visible damage to the nail bed.
- Cuticle Damage: Improper cuticle care during application or removal can harm the eponychium (the living tissue at the base of the nail), leading to inflammation, dryness, and potential infection. A healthy cuticle is vital for healthy nail growth.
Recognizing the Signs of Distress
Your nails are trying to tell you something! Here are common signs of damage:
- Peeling: Layers of the nail plate separating, often at the free edge.
- Brittleness: Nails that easily snap, chip, or break.
- Extreme Thinness: Nails that feel soft, bend easily, or appear translucent.
- Ridges or Grooves: Horizontal or vertical lines, which can sometimes be exacerbated by trauma.
- Discoloration: Yellowing, white spots, or other unusual tints (always rule out fungal infections with a doctor).
- Soreness or Tenderness: Especially after product removal, indicating damage to the nail bed or surrounding skin.
Identifying these signs is the first step towards formulating your personalized recovery strategy. For more insights into your specific nail health needs, consider taking our free nail health quiz.
The Unnail Recovery Plan: A Step-by-Step Guide
Healing your nails isn’t an overnight process, but with a consistent, gentle approach, significant improvement is absolutely achievable. This plan focuses on nurturing your nails back to their inherent strength.
Actionable Tip 1: Embrace the ‘Naked Nail’ Detox
The most crucial step in recovery is giving your nails a break from all artificial enhancements and even traditional polish for a period. This allows your nails to breathe, rehydrate, and begin the natural repair process without being suffocated or exposed to more chemicals. Aim for at least 2-4 weeks completely bare, and ideally longer if the damage is severe. During this time, resist the urge to apply another layer of polish or gel to “hide” the damage – it only delays true healing.
How to do it: Gently remove any existing product (if not already done by a professional) using an acetone-free remover. Avoid harsh scraping or peeling. Keep your nails short and neat to prevent snagging and further breakage.
Actionable Tip 2: Nourish Your Nails from Within and Without
True nail health is a reflection of overall well-being. You need to support growth and strength internally and externally.
- From Within (Diet & Supplements):
- Balanced Diet: Ensure you’re consuming enough protein (collagen is key!), essential fatty acids, and vitamins. Foods rich in biotin (eggs, nuts, seeds, sweet potatoes), Vitamin E, C, and B vitamins are excellent.
- Hydration: Drink plenty of water! Dehydration affects every part of your body, including your nails.
- Supplements: Consider a high-quality biotin supplement, marine collagen, or a dedicated nail, skin, and hair vitamin. Always consult your doctor before starting any new supplement regimen.
- From Without (Topical Care):
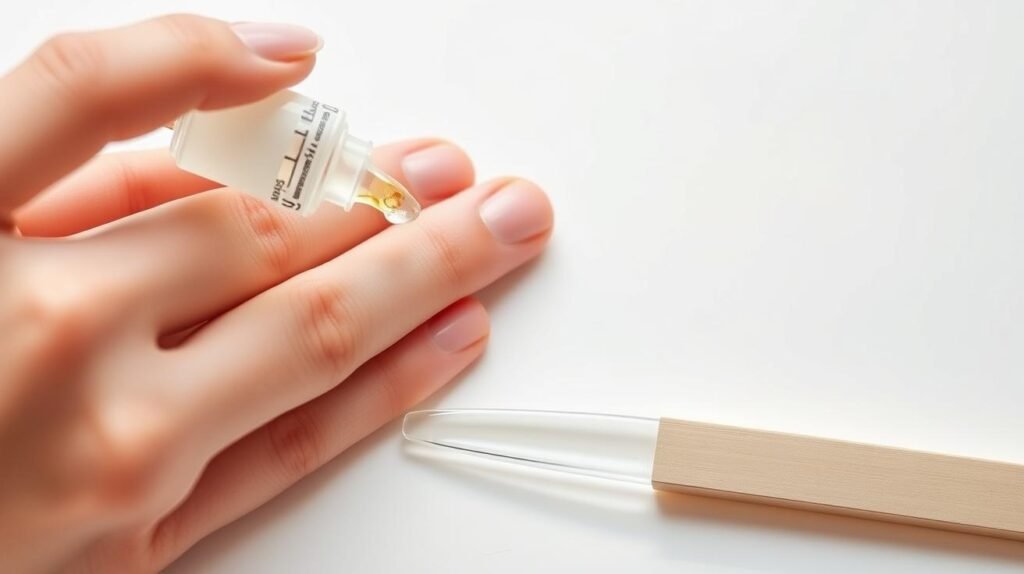
- Daily Cuticle Oil: This is non-negotiable! Apply a nourishing cuticle oil (e.g., jojoba, almond, Vitamin E) at least twice a day, massaging it into your cuticles and around the entire nail. This helps rehydrate the nail plate and stimulates healthy growth. Look for options on our recommended products page.
- Moisturize: Use a rich hand cream frequently throughout the day, especially after washing hands. Extend the moisturizer over your nails.
- Gentle Cleansing: Use mild, moisturizing soaps to avoid stripping natural oils.
Actionable Tip 3: Master Gentle Filing and Shaping
How you maintain your nail length and shape can significantly impact their recovery.
- Keep Them Short: Shorter nails are less prone to snagging, bending, and breaking, especially while they are weak.
- Use a Glass File: Unlike emery boards that can cause micro-tears and further splitting, a high-quality glass nail file creates a smooth, sealed edge. File in one direction, not a back-and-forth sawing motion.
- Avoid Over-Buffing: While it might be tempting to buff out ridges or peeling, excessive buffing removes precious layers of your natural nail, making them even thinner and weaker. Lightly buff only if necessary for surface smoothness, and very sparingly.
Common Mistakes to Avoid During Recovery (Warning!)
Healing is a delicate process, and certain actions can sabotage your efforts:
- Peeling/Picking: Never, ever pick or peel off a lifted portion of your nail or polish. This physically rips layers of your nail plate, causing severe damage. Trim gently with sharp clippers if necessary.
- Using Nails as Tools: Resist the urge to open cans, scrape labels, or pry things open with your nails. This is a quick way to cause trauma and breakage.
- Skipping Gloves: When doing dishes, gardening, or cleaning with harsh chemicals, always wear protective gloves. Water and chemicals are extremely drying and damaging to nails.
- Ignoring Cuticle Care: Pushing back or cutting cuticles aggressively can damage the nail matrix, leading to problems with new growth. Be gentle and only push back softened cuticles after a shower, using a soft towel or rubber cuticle pusher.
Essential Products and Tools for Natural Nail Healing
While patience and consistency are paramount, the right products can significantly accelerate your recovery process.
The Power of Quality Cuticle Oil
As mentioned, this is your holy grail. Invest in a good cuticle oil with nourishing ingredients like jojoba oil, almond oil, avocado oil, and vitamin E. Apply it multiple times a day, especially after washing your hands or showering, and before bed. It deeply hydrates the nail plate and surrounding skin, promoting flexibility and strength.
Choosing the Right Nail Strengthener
When your nails are severely damaged, a strengthener can act as a protective shield while your natural nail grows out. However, be cautious:
- Avoid Formaldehyde: Many older strengtheners contain formaldehyde or toluene, which can initially harden nails but ultimately lead to brittleness and further damage with prolonged use.
- Look for Nourishing Formulas: Opt for strengtheners that contain proteins (like keratin), vitamins, and humectants to hydrate and support the nail. Use them as directed, often for a few weeks, and then cycle them out for regular care to prevent over-hardening.
Filing Tools and Polish Removers
- Glass Nail File: A non-negotiable tool for sealing the nail edge and preventing snags. They are more hygienic and last longer than traditional emery boards.
- Acetone-Free Nail Polish Remover: If you choose to wear polish (after your naked nail detox), always use an acetone-free remover to minimize dehydration.
- Soft Buffer Block: Use sparingly, if at all, to gently smooth the nail surface if you have extreme flaking, focusing on the new growth.
You can find our top recommendations for these products and more over at Unnail.
Setting Realistic Expectations: Your Healing Timeline
Nail recovery is a marathon, not a sprint. The good news is that your nails are constantly growing and renewing themselves. However, it takes time for the damaged parts to grow out and for new, healthy nail to take its place.
- Nail Growth Rate: Fingernails typically grow about 2-3 mm per month. This means it can take anywhere from 4 to 6 months for a damaged fingernail to completely grow out and be replaced by new, healthy nail from the matrix. Toenails grow even slower, taking up to 12-18 months.
- Initial Improvements (2-4 weeks): Within the first few weeks, you’ll likely notice better hydration in your cuticles and surrounding skin. Your nails might feel less brittle, and new growth appearing from the cuticle will start to look healthier.
- Visible Progress (2-3 months): By this point, you should see a clear line of demarcation between the old, damaged nail and the new, healthier growth. Peeling and splitting at the tips will lessen as the damaged portion grows out and is regularly filed away.
- Full Recovery (4-6 months+): For severely damaged nails, a full recovery can take up to six months or even longer, depending on the extent of the damage and your individual nail growth rate. Consistency in your routine is key throughout this period.
Patience and persistence are your best friends on this journey. Document your progress with photos if you like – seeing how far you’ve come can be incredibly motivating!

Conclusion
Embarking on a journey to heal and strengthen your natural nails after damage is a powerful act of self-care. It requires patience, dedication, and the right approach, but the reward of strong, beautiful nails that are truly your own is immeasurable. By understanding the damage, implementing our step-by-step recovery plan, utilizing essential products, and managing your expectations, you are well on your way to achieving the healthy nails you deserve.
Remember, every small step contributes to a larger transformation. Your natural nails are resilient, and with the right care, they can thrive. Ready to take the next step in your nail recovery journey? Discover your personalized nail health score and get tailored advice!
“`