Recover Natural Nails After Acrylic Damage
Key Features
- Essential steps for nail recovery post-acrylic damage
- Natural strengthening techniques using everyday ingredients
- Actionable tips and timelines for visible results
- Warnings on pitfalls that hinder healing
- Holistic advice for long-term nail health
Have you ever peeled off your acrylics or soaked off gel polish only to reveal brittle, thin, and peeling natural nails underneath? You’re not alone. Millions of women love the look of artificial nail enhancements, but the damage they can cause to your natural nails is often overlooked until it’s too late. At Unnail, we specialize in helping women restore their nails to a healthy, strong state without relying on more chemicals or fake nails. This guide dives deep into the science of nail damage, practical recovery strategies, and sustainable ways to prevent future issues.
Natural nails are made of keratin, a tough protein that can withstand daily wear but becomes compromised by the adhesives, filings, and chemicals in acrylics, gels, and press-ons. Over time, these enhancements weaken the nail bed, leading to ridges, splits, and even infections if not addressed. The good news? With consistent care, your nails can fully recover and grow stronger than before. We’ll cover why this damage happens, how to start healing immediately, and what to expect over the next few months. Whether you’re just removing your enhancements or dealing with long-term brittleness, these evidence-based tips will empower you to nurture your nails back to health. Remember, patience is key—nails grow about 3mm per month, so visible improvements take time, but the results are worth it for natural, beautiful nails you can proudly show off.
By following this comprehensive approach, you’ll not only repair the damage but also build habits for lifelong nail wellness. Let’s get started on your journey to stronger, happier nails with Unnail’s expert guidance.
Understanding Nail Damage from Artificial Enhancements
Artificial nail products like acrylics, gels, and press-ons promise instant glamour, but they come at a cost to your natural nails. Acrylics, for instance, involve filing down the nail surface to create a base for the powder and liquid monomer mixture, which can thin the nail plate by up to 50%. Gels require UV or LED curing, and their removal often involves acetone soaks that dehydrate the nail, making it prone to breakage. Press-ons, while less invasive, use strong adhesives that can lift the nail bed if not removed carefully, leading to peeling and exposure to bacteria.
The primary issues include dehydration, where solvents strip natural oils, causing brittleness; mechanical damage from filing and buffing, which creates micro-tears; and allergic reactions to monomers in acrylics that inflame the cuticle area. Overuse—applying enhancements every few weeks without breaks—exacerbates this, turning temporary weakness into chronic damage. Signs of trouble? Yellowing, ridges, white spots (leukonychia from trauma), and slow growth. According to dermatologists, up to 30% of frequent users experience permanent thinning if not addressed early.
Why Your Nails Need a Break
Giving your nails a recovery period is non-negotiable. During this time, avoid all enhancements to let the nail matrix (the growth center under the cuticle) heal. For more on the biology of nail growth, learn more about nail care basics on Unnail. Expect initial shedding as damaged layers slough off, but this is part of the healing process. Timeline-wise, minor damage might improve in 4-6 weeks, while severe cases could take 3-6 months for full regrowth.
Understanding these mechanisms helps you approach recovery with realistic expectations and targeted care, setting the foundation for stronger nails ahead.
Step-by-Step Nail Recovery Guide
Healing damaged nails starts with gentle, consistent routines that hydrate, protect, and nourish. Begin by properly removing any remaining enhancements—never pick or peel them off, as this causes further trauma. Use a professional-grade remover or visit a salon trained in safe techniques. Once bare, your nails will feel vulnerable, so prioritize moisture.
Actionable Tip 1: Daily Hydration Routine
Apply a cuticle oil or nail strengthener twice daily. Opt for natural options like jojoba or argan oil, which mimic your skin’s sebum. Massage into the nail bed and cuticles for 5 minutes to boost circulation. This simple step can reduce breakage by 40% within weeks. For product recommendations, check Unnail’s tools and products section.
Actionable Tip 2: Protective Barriers
Keep nails short and filed into a rounded shape to minimize snags. Wear gloves during chores to shield from water and chemicals—prolonged exposure softens the keratin structure. At night, apply a thick layer of petroleum jelly or a barrier cream to lock in moisture overnight.
Warning: Common Mistake to Avoid
A big pitfall is over-filing or buffing during recovery. Many women think smoothing ridges helps, but this thins nails further and delays healing. Resist the urge; let natural growth take over. If ridges persist, consult a dermatologist for underlying issues like nutritional deficiencies.
Track your progress weekly by measuring nail length and noting texture changes. In the first month, focus on stopping further damage; by month two, you’ll see smoother growth. Incorporate biotin-rich foods like eggs and nuts, or a supplement if approved by your doctor—expect 10-20% growth acceleration with proper nutrition.
Actionable Tip 3: Gentle Exfoliation and Soaks
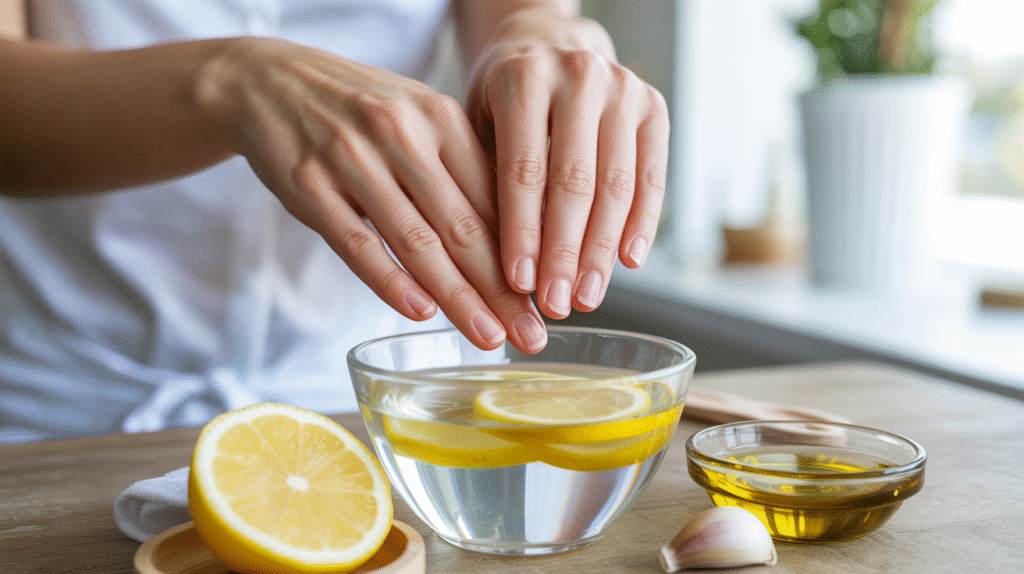
Once a week, soak nails in warm olive oil mixed with lemon juice for 10 minutes. The oil nourishes while lemon’s vitamin C brightens and strengthens. Pat dry and apply a moisturizer immediately. This DIY remedy, rooted in ancient practices, can heal cuticles and reduce peeling effectively.
Throughout recovery, be patient—nails from the damage zone will push out as new, healthy layers emerge. If irritation or infection signs appear (redness, pus), seek medical advice promptly.
Long-Term Strengthening and Maintenance
Once initial healing is underway, shift to building resilience. Strong nails aren’t just about products; they’re a reflection of overall wellness. Incorporate habits that support keratin production from the inside out.
Start with a balanced diet rich in protein, silica (from oats and bananas), and omega-3s (fish or flaxseeds). These nutrients fortify the nail structure, preventing future brittleness. Hydration is crucial—aim for 8 glasses of water daily to keep nails flexible, not rigid and snap-prone.
Building Strength with Natural Remedies
Try a weekly keratin-boosting mask: Mix crushed garlic (for allicin, a natural strengthener) with honey and apply for 15 minutes. Rinse gently. This home remedy, backed by studies on sulfur compounds, can increase nail hardness over time. For more DIY ideas, explore Unnail’s DIY and home remedies guide.
Exercise your nails lightly—gently tap them on a soft surface to stimulate growth without stress. Avoid harsh polishes; if you must paint, choose breathable formulas free of formaldehyde. Regular manicures focused on care, not enhancement, maintain health—every 4-6 weeks, trim and oil.
Timeline Expectations for Full Strength
By 3 months, most women see 50% improvement in strength, with full recovery in 6-9 months as a complete nail cycle (from matrix to tip) replaces damaged parts. Factors like age, genetics, and consistency affect speed—younger skin heals faster. Monitor with photos; if no progress after 8 weeks, test for thyroid or iron issues.
Prevent relapse by alternating enhancement-free periods and using base coats as shields if you indulge occasionally. Long-term, empowered women choose natural beauty, and Unnail supports that with science-backed resources on nail education and science. Your nails can thrive naturally with these strategies.

Conclusion
Healing and strengthening your natural nails after the toll of acrylics, gels, and press-ons is a rewarding journey that restores confidence and beauty. We’ve explored the roots of damage, outlined a step-by-step recovery plan with hydration, protection, and nutrition, and shared tips for lasting strength—remember, avoid over-filing, stay consistent with oils and soaks, and nourish from within. With timelines of 3-6 months for noticeable changes, patience paired with these actions yields resilient nails. Embrace this as a fresh start for healthier habits, free from artificial dependencies. At Unnail, we’re here to guide you every step.
Ready to personalize your recovery? Take our free 2-minute nail health quiz for tailored advice: Take our free 2-minute nail recovery quiz.